Setting Up AWS AutoStopping Proxy
What is an AutoStopping proxy?
AutoStopping is designed to integrate seamlessly with native load-balancing solutions like AWS ALB. However, for use cases that fall outside of these integrations such as SSH, RDP, or RDS connections, AutoStopping offers an advanced reverse proxy solution: the AutoStopping Proxy.
This proxy VM sits in front of your virtual machines and intelligently starts or stops them based on incoming network traffic. It supports both HTTP(S) and TCP connections:
- For HTTP(S): It provides Layer 7 load balancing, request routing, and full SSL support.
- For TCP traffic: It uses ephemeral, dynamically generated port mappings to route connections efficiently.
Built on the proven, open-source Envoy Proxy, the AutoStopping Proxy is highly reliable and scalable, capable of managing traffic for multiple AutoStopping-managed VMs from a single instance.

Choosing Between Load Balancer and AutoStopping Proxy
Key Differences
| Feature | AWS Load Balancer | AutoStopping Proxy |
|---|---|---|
| Traffic Types | HTTP/HTTPS only | HTTP/HTTPS + TCP |
| Best For | Web applications | Direct VM access, databases |
| Implementation | AWS native ALB | Dedicated proxy VM |
Steps to create an AutoStopping proxy for AWS

-
In Harness, go to the Cloud Costs module. Click on AutoStopping Rules from left Navbar.
-
Click Load Balancers.
-
Click Create New Load Balancer. Click Create New AutoStopping Proxy.
-
Enter a name and select AWS in Cloud Provider.
-
Choose an existing connector or create a new one.
-
Enter Autostopping Proxy Configuration.
- Region: Select the AWS region where your target resources are hosted
- API Key: Enter a Harness API key for authentication
- Choose No Expiration when creating this key
- See Create an API Key for more information
- VPC: Select the Virtual Private Cloud where your resources are located
- Security Groups: Select security groups to control traffic flow
- Ensure all required ports and protocols are allowed
- Subnet: Select the subnet for the proxy deployment
- Machine type: Select an appropriate AWS instance type for the proxy
- Choose based on your expected traffic volume and performance needs
- Key Pair: Select an SSH key pair to connect to your proxy VM
- TLS Certificate Configuration:
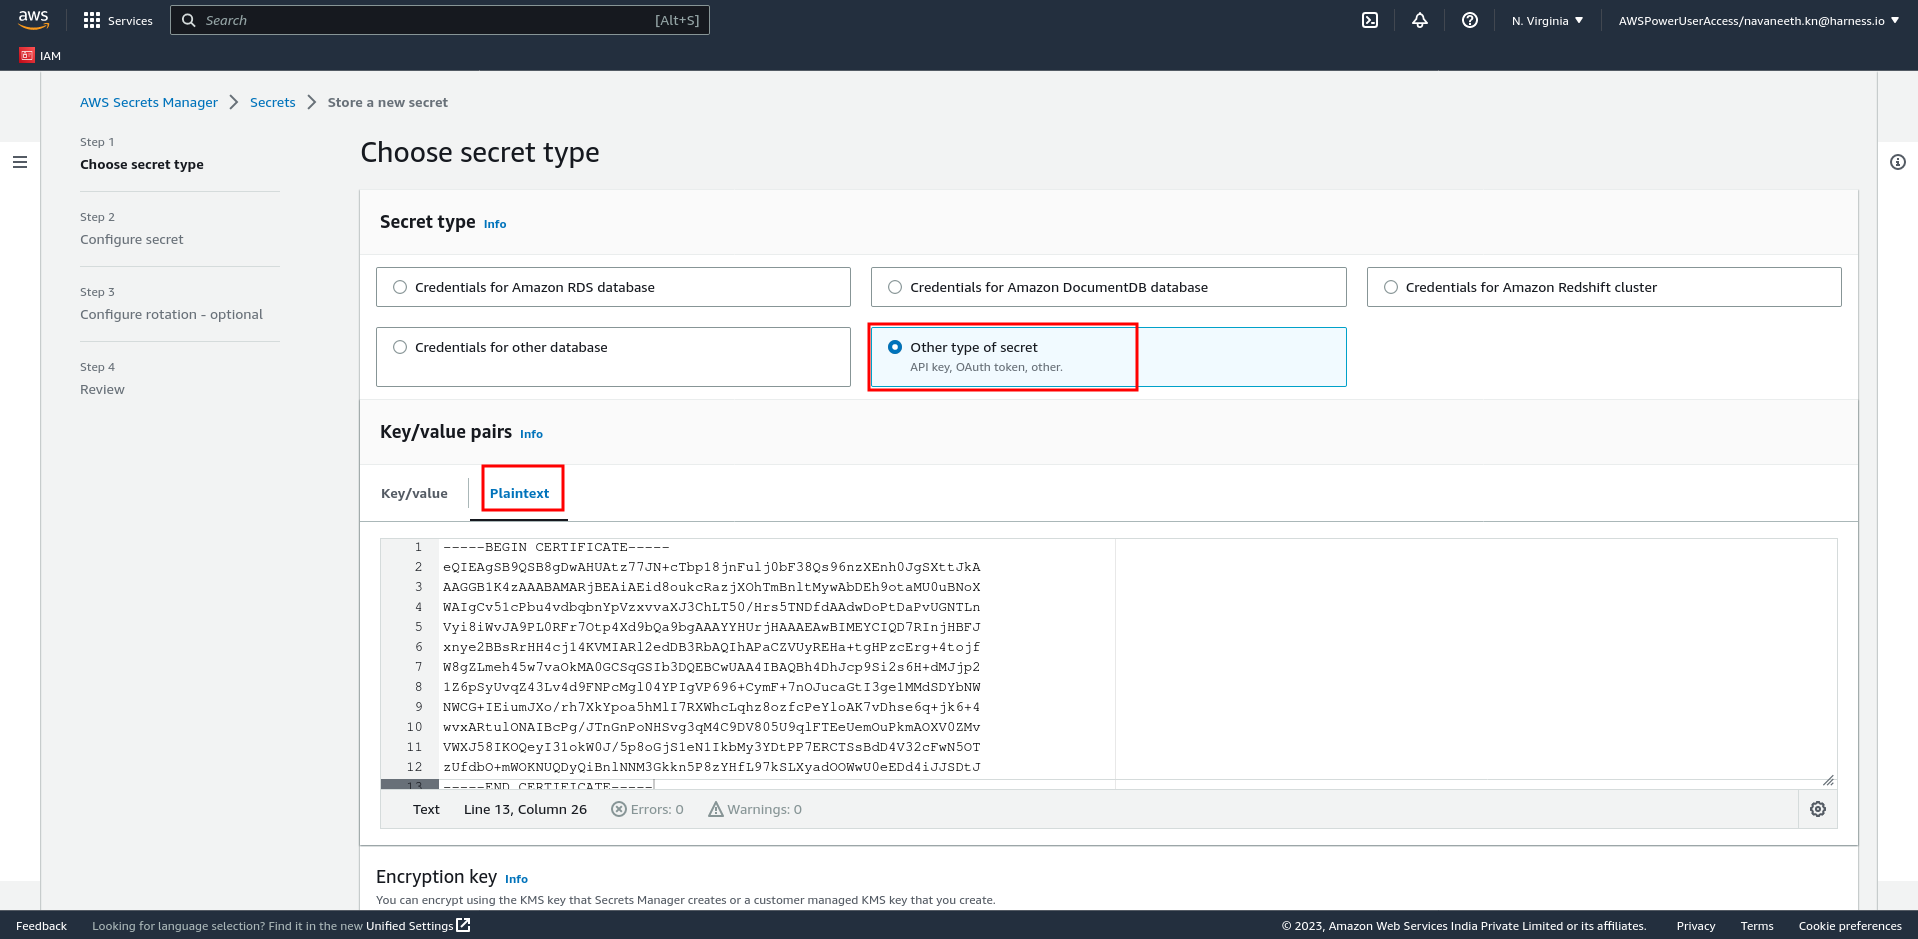
- TLS Certificate Secret Version: Provide a PEM-encoded certificate stored in AWS Secrets Manager
- Store your certificate in AWS Secrets Manager using the Other type of secret option
- Recommended naming convention: use harness/ prefix in the secret name
- TLS Private Key Secret Version: Provide the ARN of your private key secret
- Format: 'arn:aws:secretsmanager:[Region]:[AccountId]:secret:SecretName-6RandomCharacters'
- See AWS documentation on creating secrets
- TLS Certificate Secret Version: Provide a PEM-encoded certificate stored in AWS Secrets Manager
- [OPTIONAL] Encrypted EBS Volume: Enable to encrypt the EBS volume
- [OPTIONAL] Allocate Static IP: Enable to assign an elastic IP address
- Makes the proxy publicly accessible
- Remember to update your DNS records to point to this IP
-
Click on "Save AutoStopping Proxy".
AWS Secrets Manager Configuration
- Secret naming convention example:

- Secret creation example:
- Review your configuration and click Save Load Balancer.